Ruler Growth Chart
I have been dying to make one of these ruler growth charts from Pottery Barn for our home for FOREVER. It was one of the easiest little projects I've done yet. I schlepped the boys off to Home Depot (with the help of my mom who met us there) and grabbed a 6' x 1' pine board from their lumber aisle. I think it ended up being something like $12 total. Awesome. I picked one that had a just the right amount of visible knots and imperfections to give me a more rustic look.
It's been raining like crazy around here lately (like mass power outages due to wind and rain crazy) so it was hard to find a day when I could take the board outside to rough it up a bit. Finally the sun came out and I just sort of slid it's face along a couple of the large landscape rocks out in our yard and drug it along our patio - I didn't want to go crazy and have it look really fake/freshly roughed. So many of the "tutorials" on how to faux-distress wood ended up looking really fake in my opinion.
I then sanded the whole thing with a fine sandpaper. I wanted to round the edges and make the freshly made dents more subtle. Also, no thank you slivers!! I then stained the whole board using this stain. Since it's been so cold lately I let it dry for a day in the garage and then brought it inside to finish drying for a day or two more.
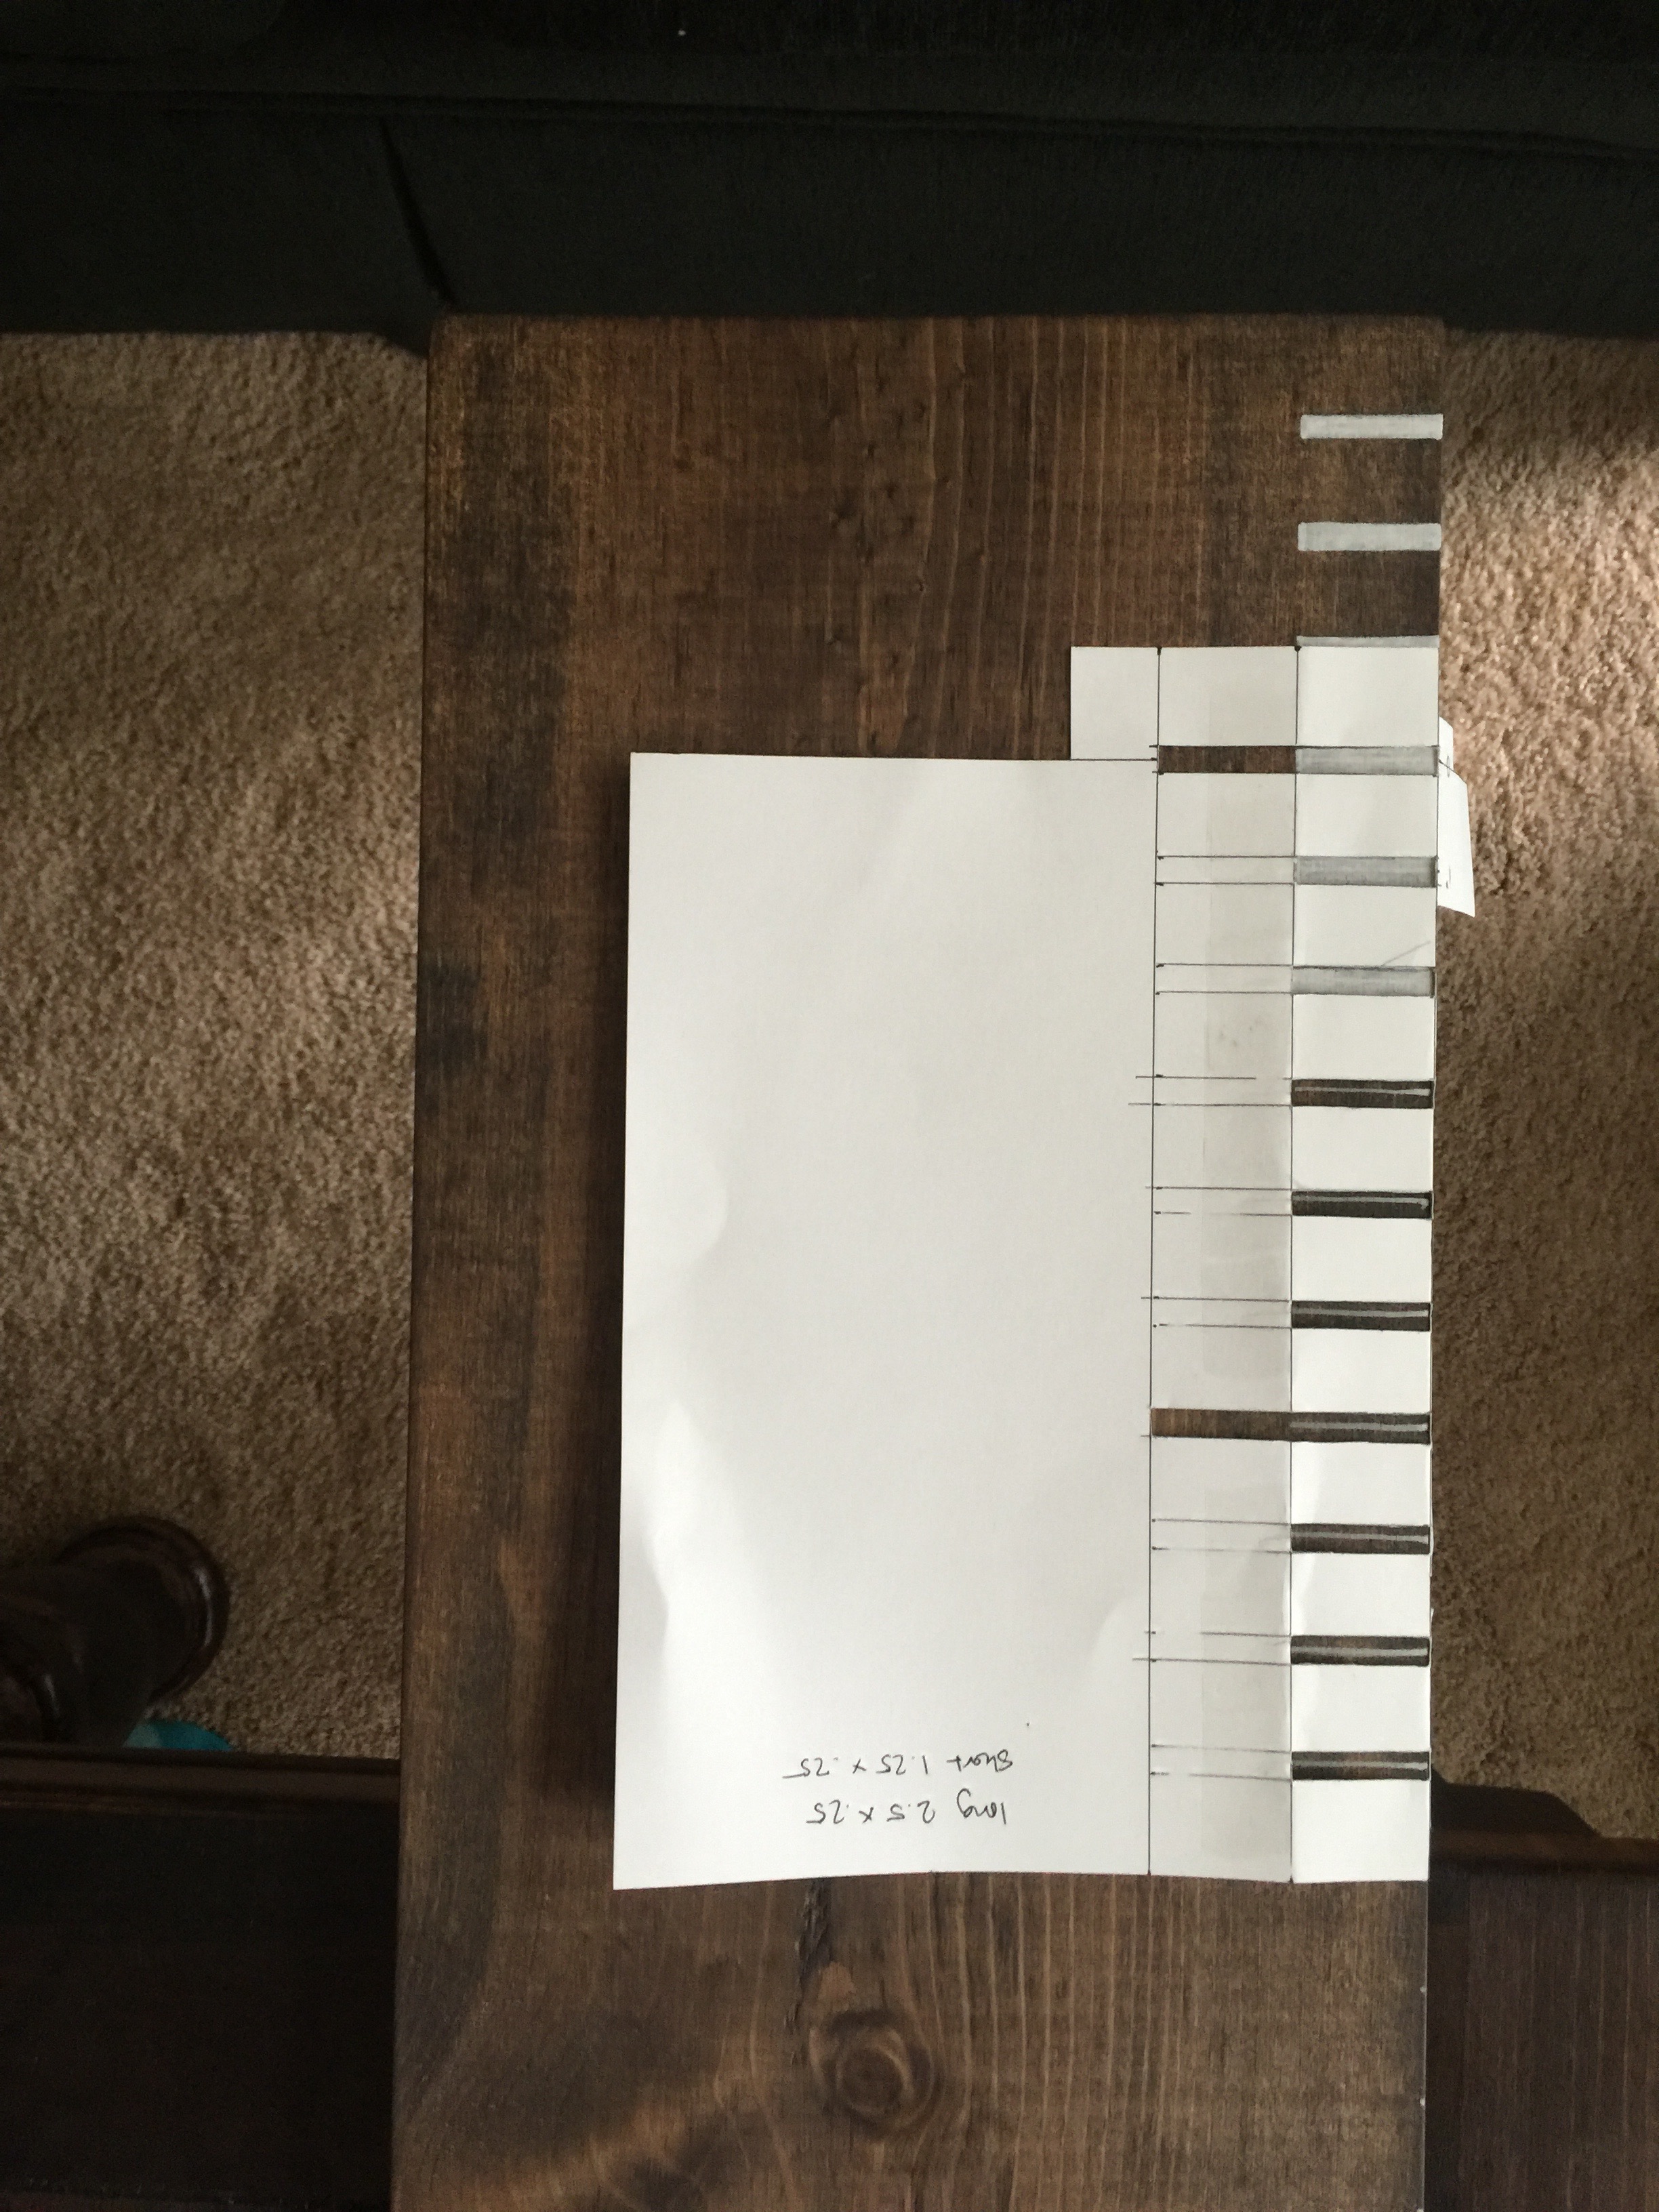
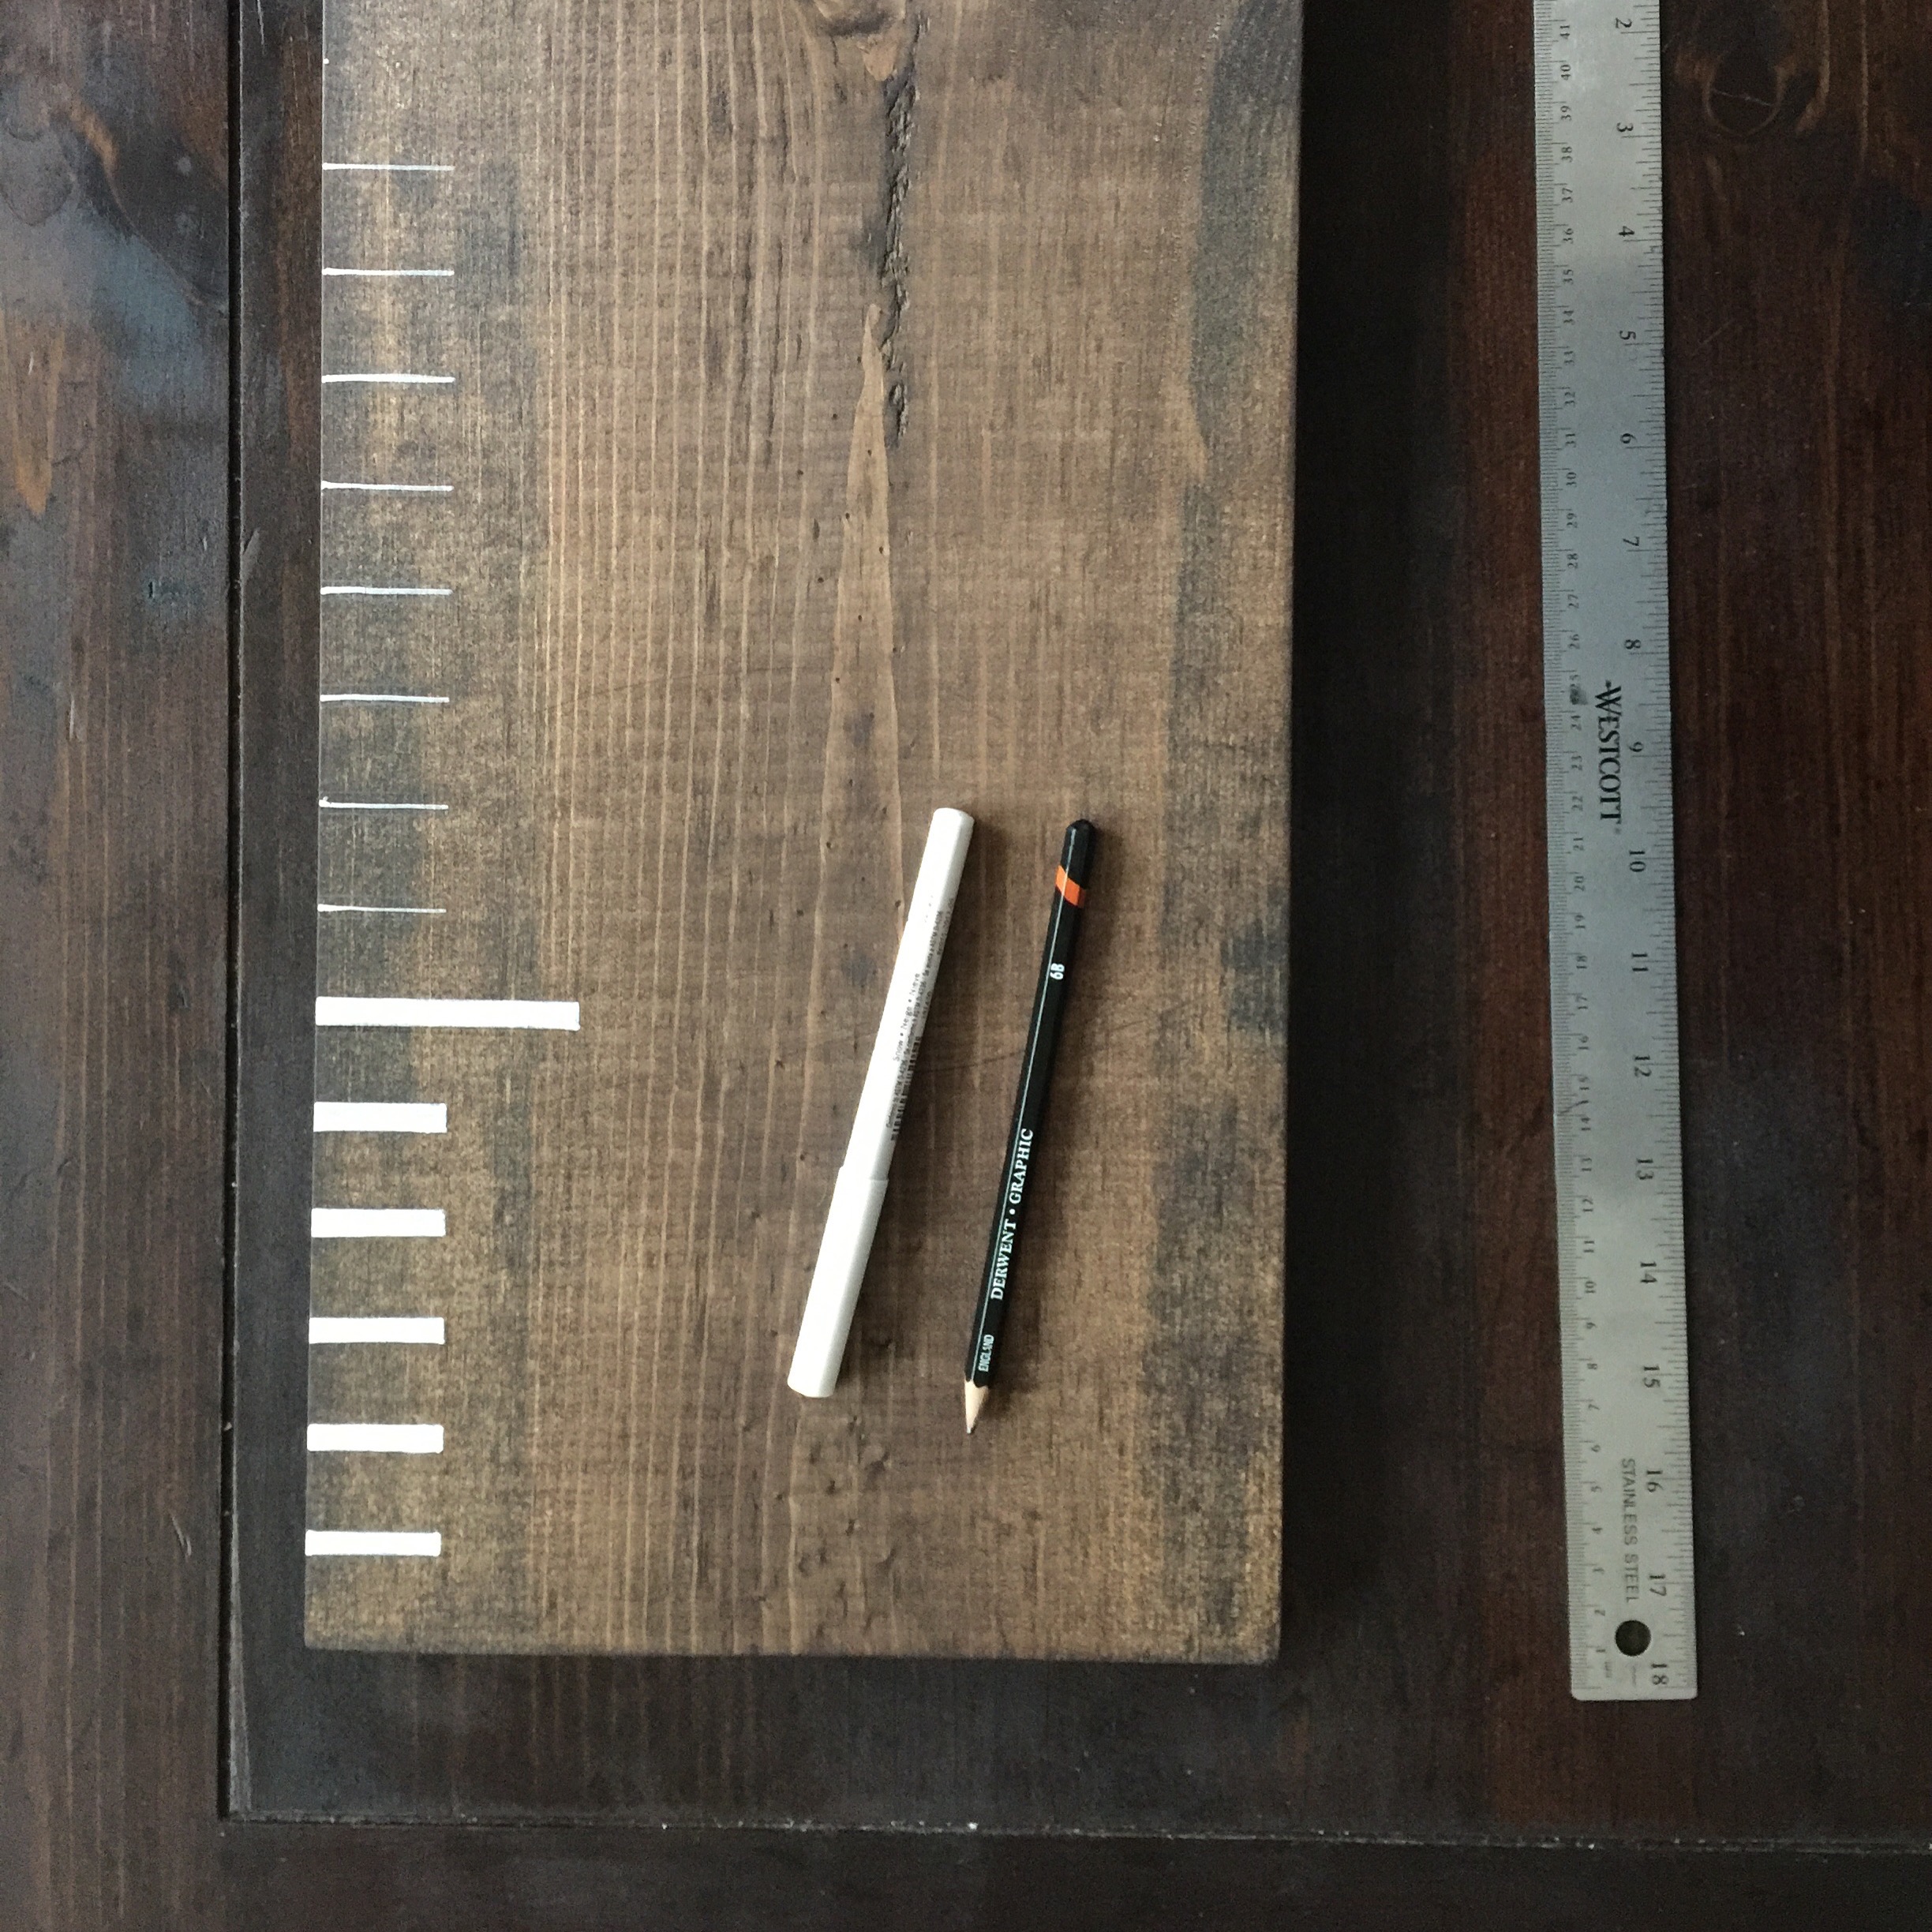
I used my Recollections Signature Especial Opaque Marker in Snow to make tick marks every inch along the edge of the board. I then made this stencil for the tick marks and numbers! After cutting it out by hand I lightly traced the stencil before filling everything in using the same marker. I had to adjust here and there to make sure the stencil lined up with the tick marks since I knew the tick marks were accurate and my printer doesn't always print perfectly! Also I would fill everything in, let dry and then go back over it again to get a brighter white with each coat. I probably could have done the same thing with paint and brush or a paint pen, but was happy with the results with this pen!
I made two mistakes that I was able to fix using a Magic Eraser! Life saver for sure. One was such a big mistake I had to go back over it with a little more stain after using the eraser to hide it best.
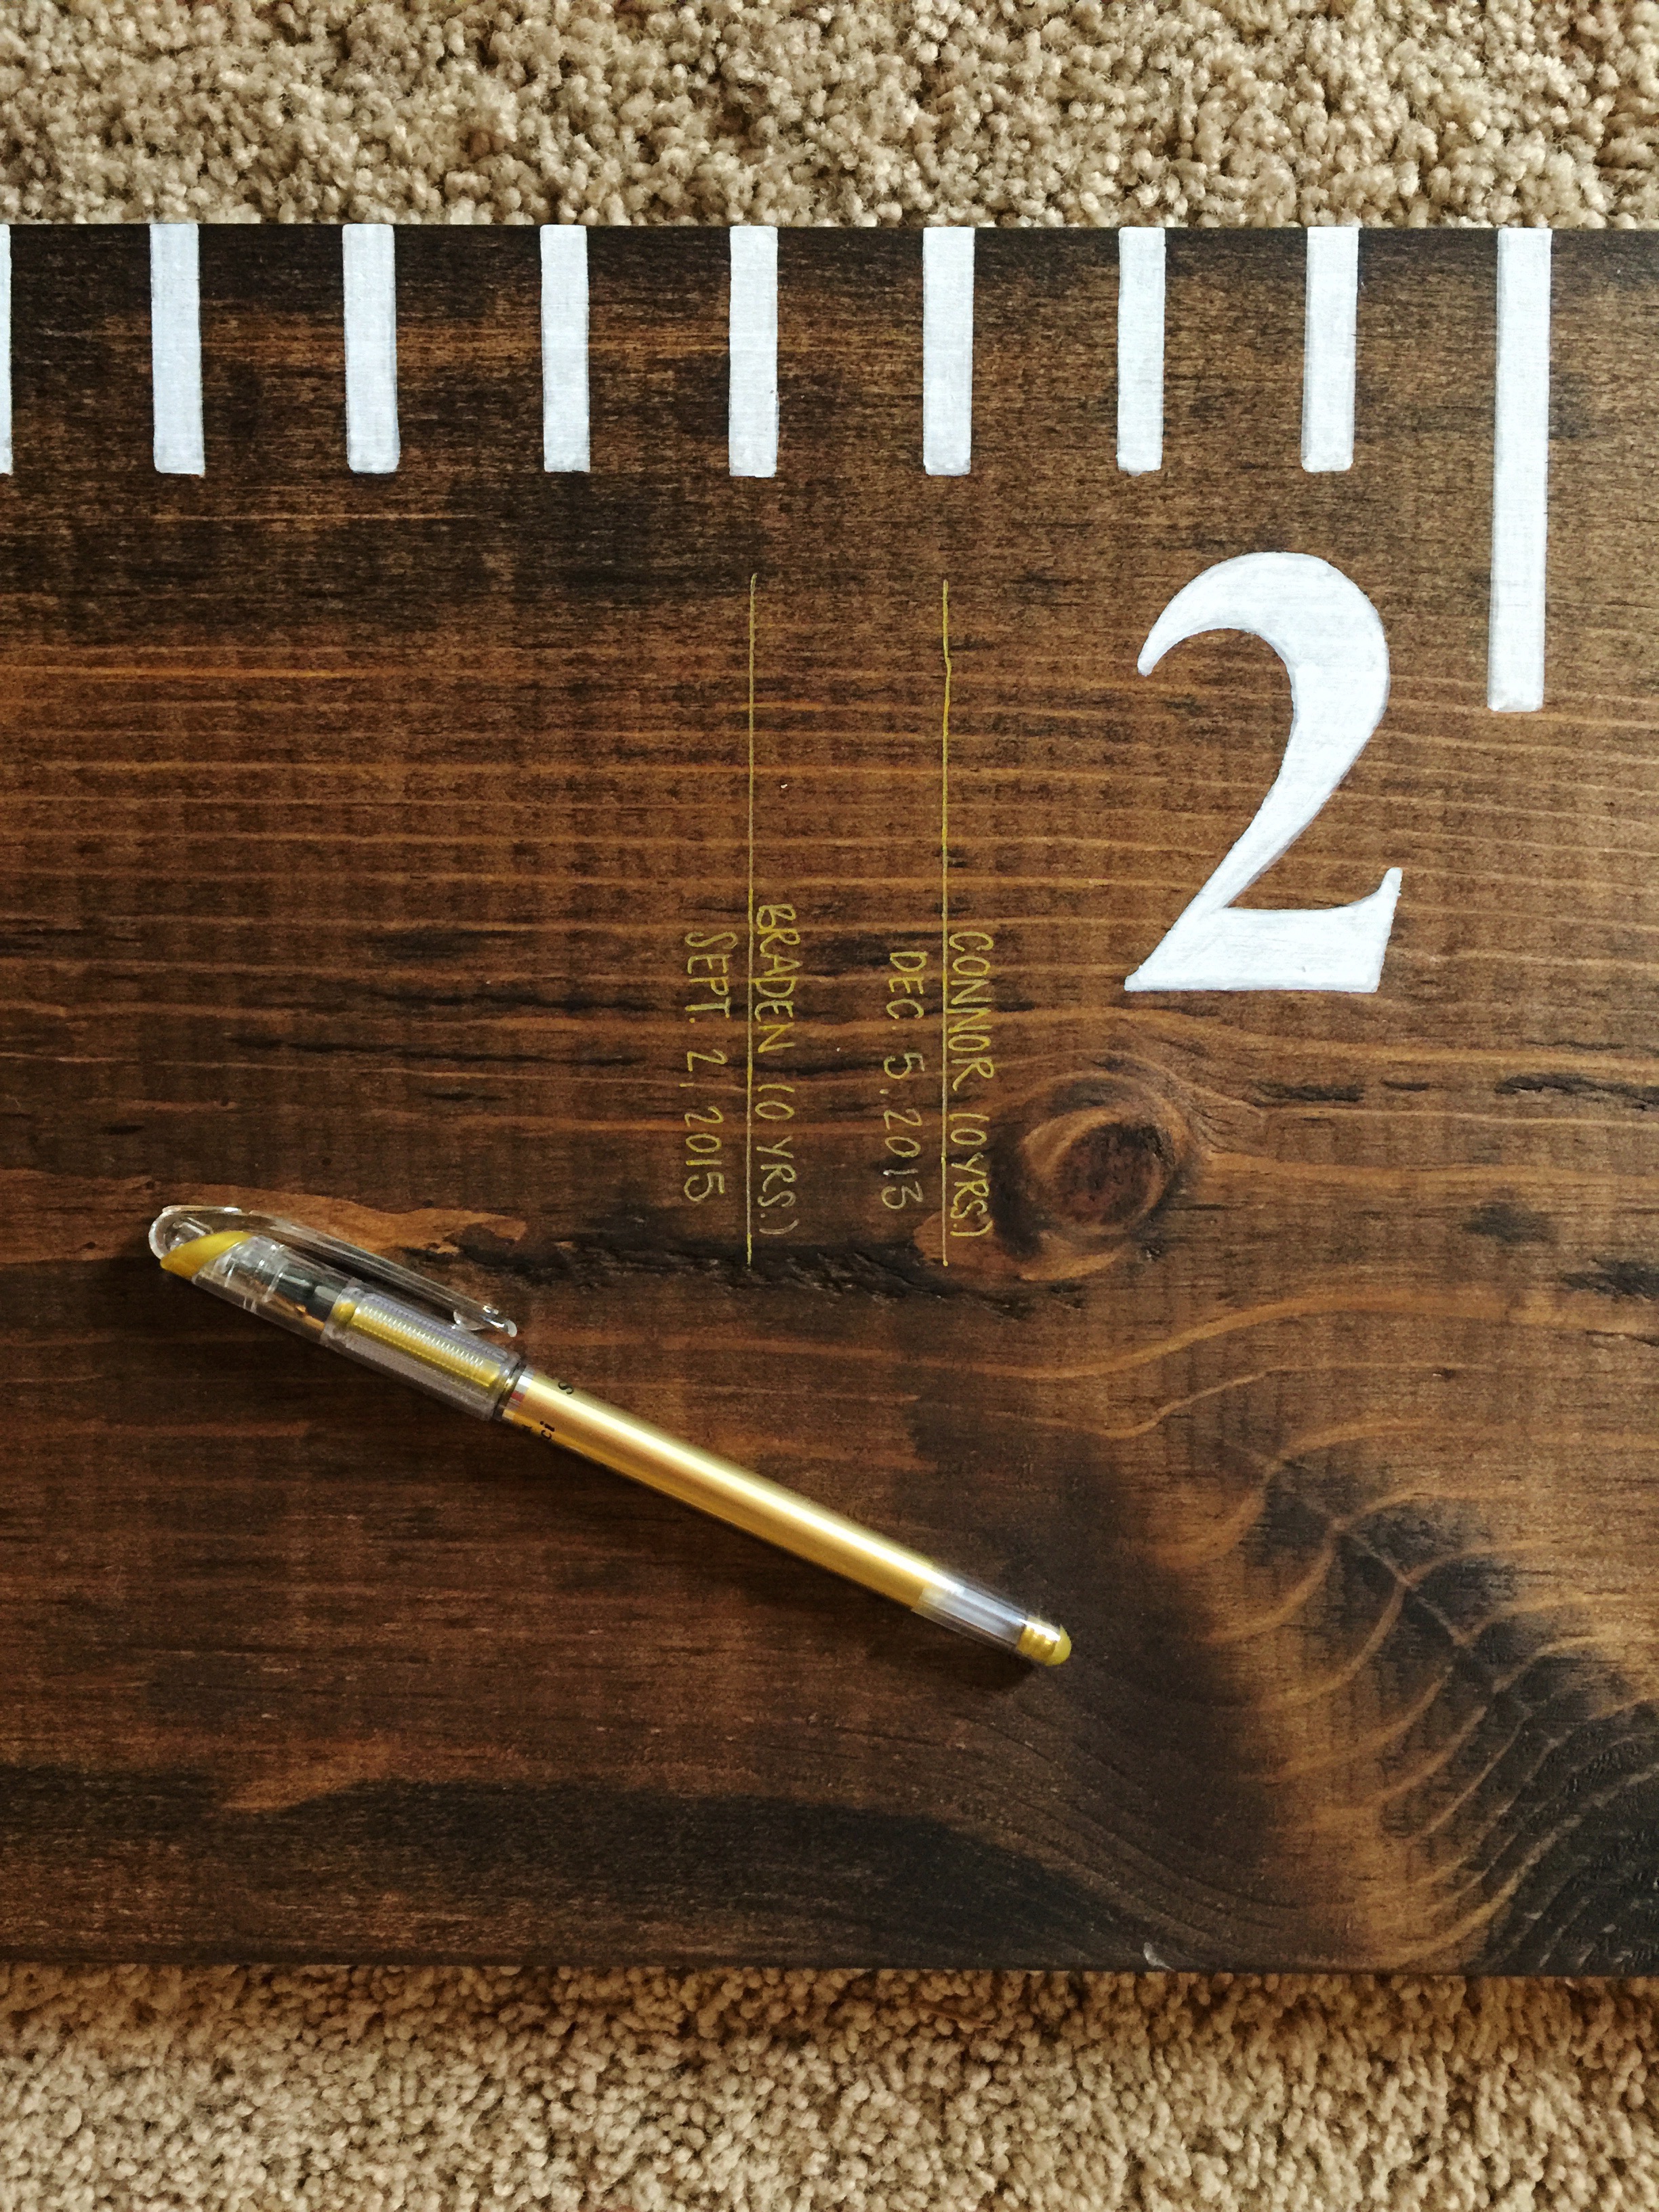
The finishing touch was using my gold Pentel Slicci pen to write in Connor and Braden's heights from the past 2 years! :) So fun!! Pro tip: you can get your kids yearly records from their doctor. Although I have been wanting to do this since before Connor was born...I was too lazy to hold on to his check-up sheet from his year appointments!
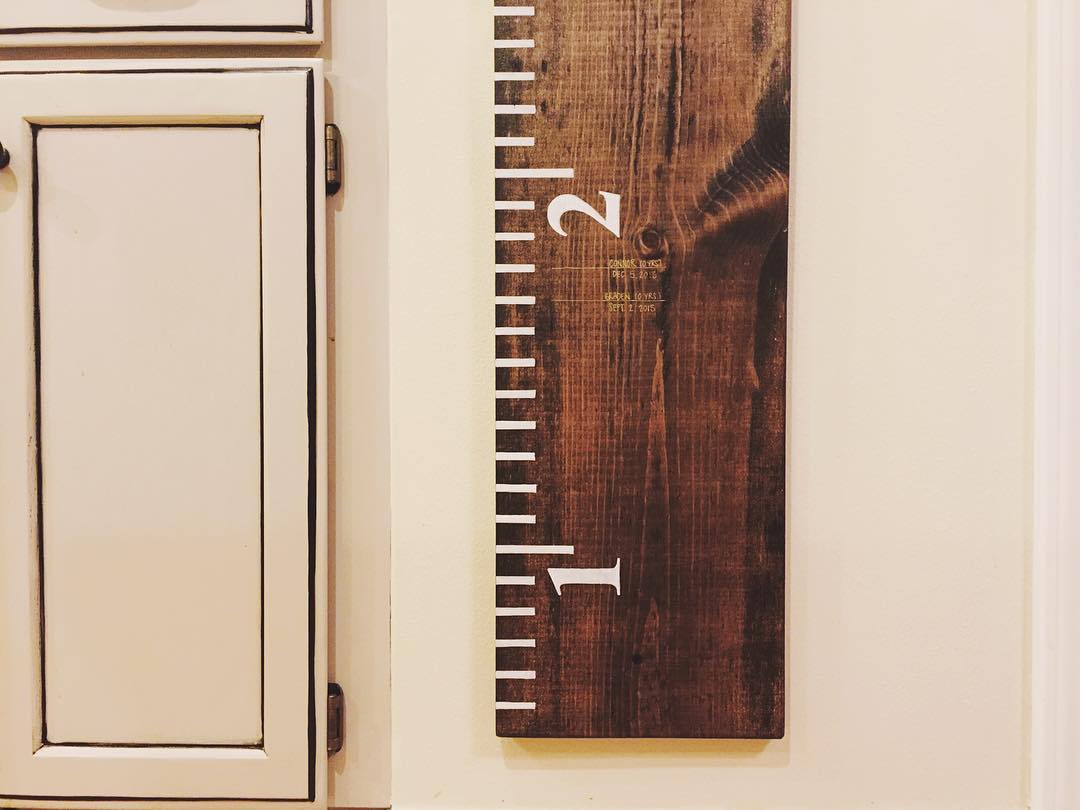
To hang - I measured 6" off the ground for where the bottom of the ruler would start and then an additional 2.5" and made a mark. We used these drywall screws since we didn't have a stud to screw into. Dave measure 2.5" in on center from both ends of the ruler and put the screws in. He then lined up the base with the first mark and then (using a level to make sure it was straight up and down) pressed the board with the exposed screws into the wall to score the location of the upper screw into the drywall. He then drilled both anchors into place and screwed the board to the wall. It took maybe 10 minutes total. Our board was a little bowed but once the screws were fully flush with the wall it was hardly noticeable!
What a fun project! Connor loves it and uses it to practice his counting every morning at breakfast time! Can't wait to actually use it, but for now it looks pretty great in our kitchen :)