
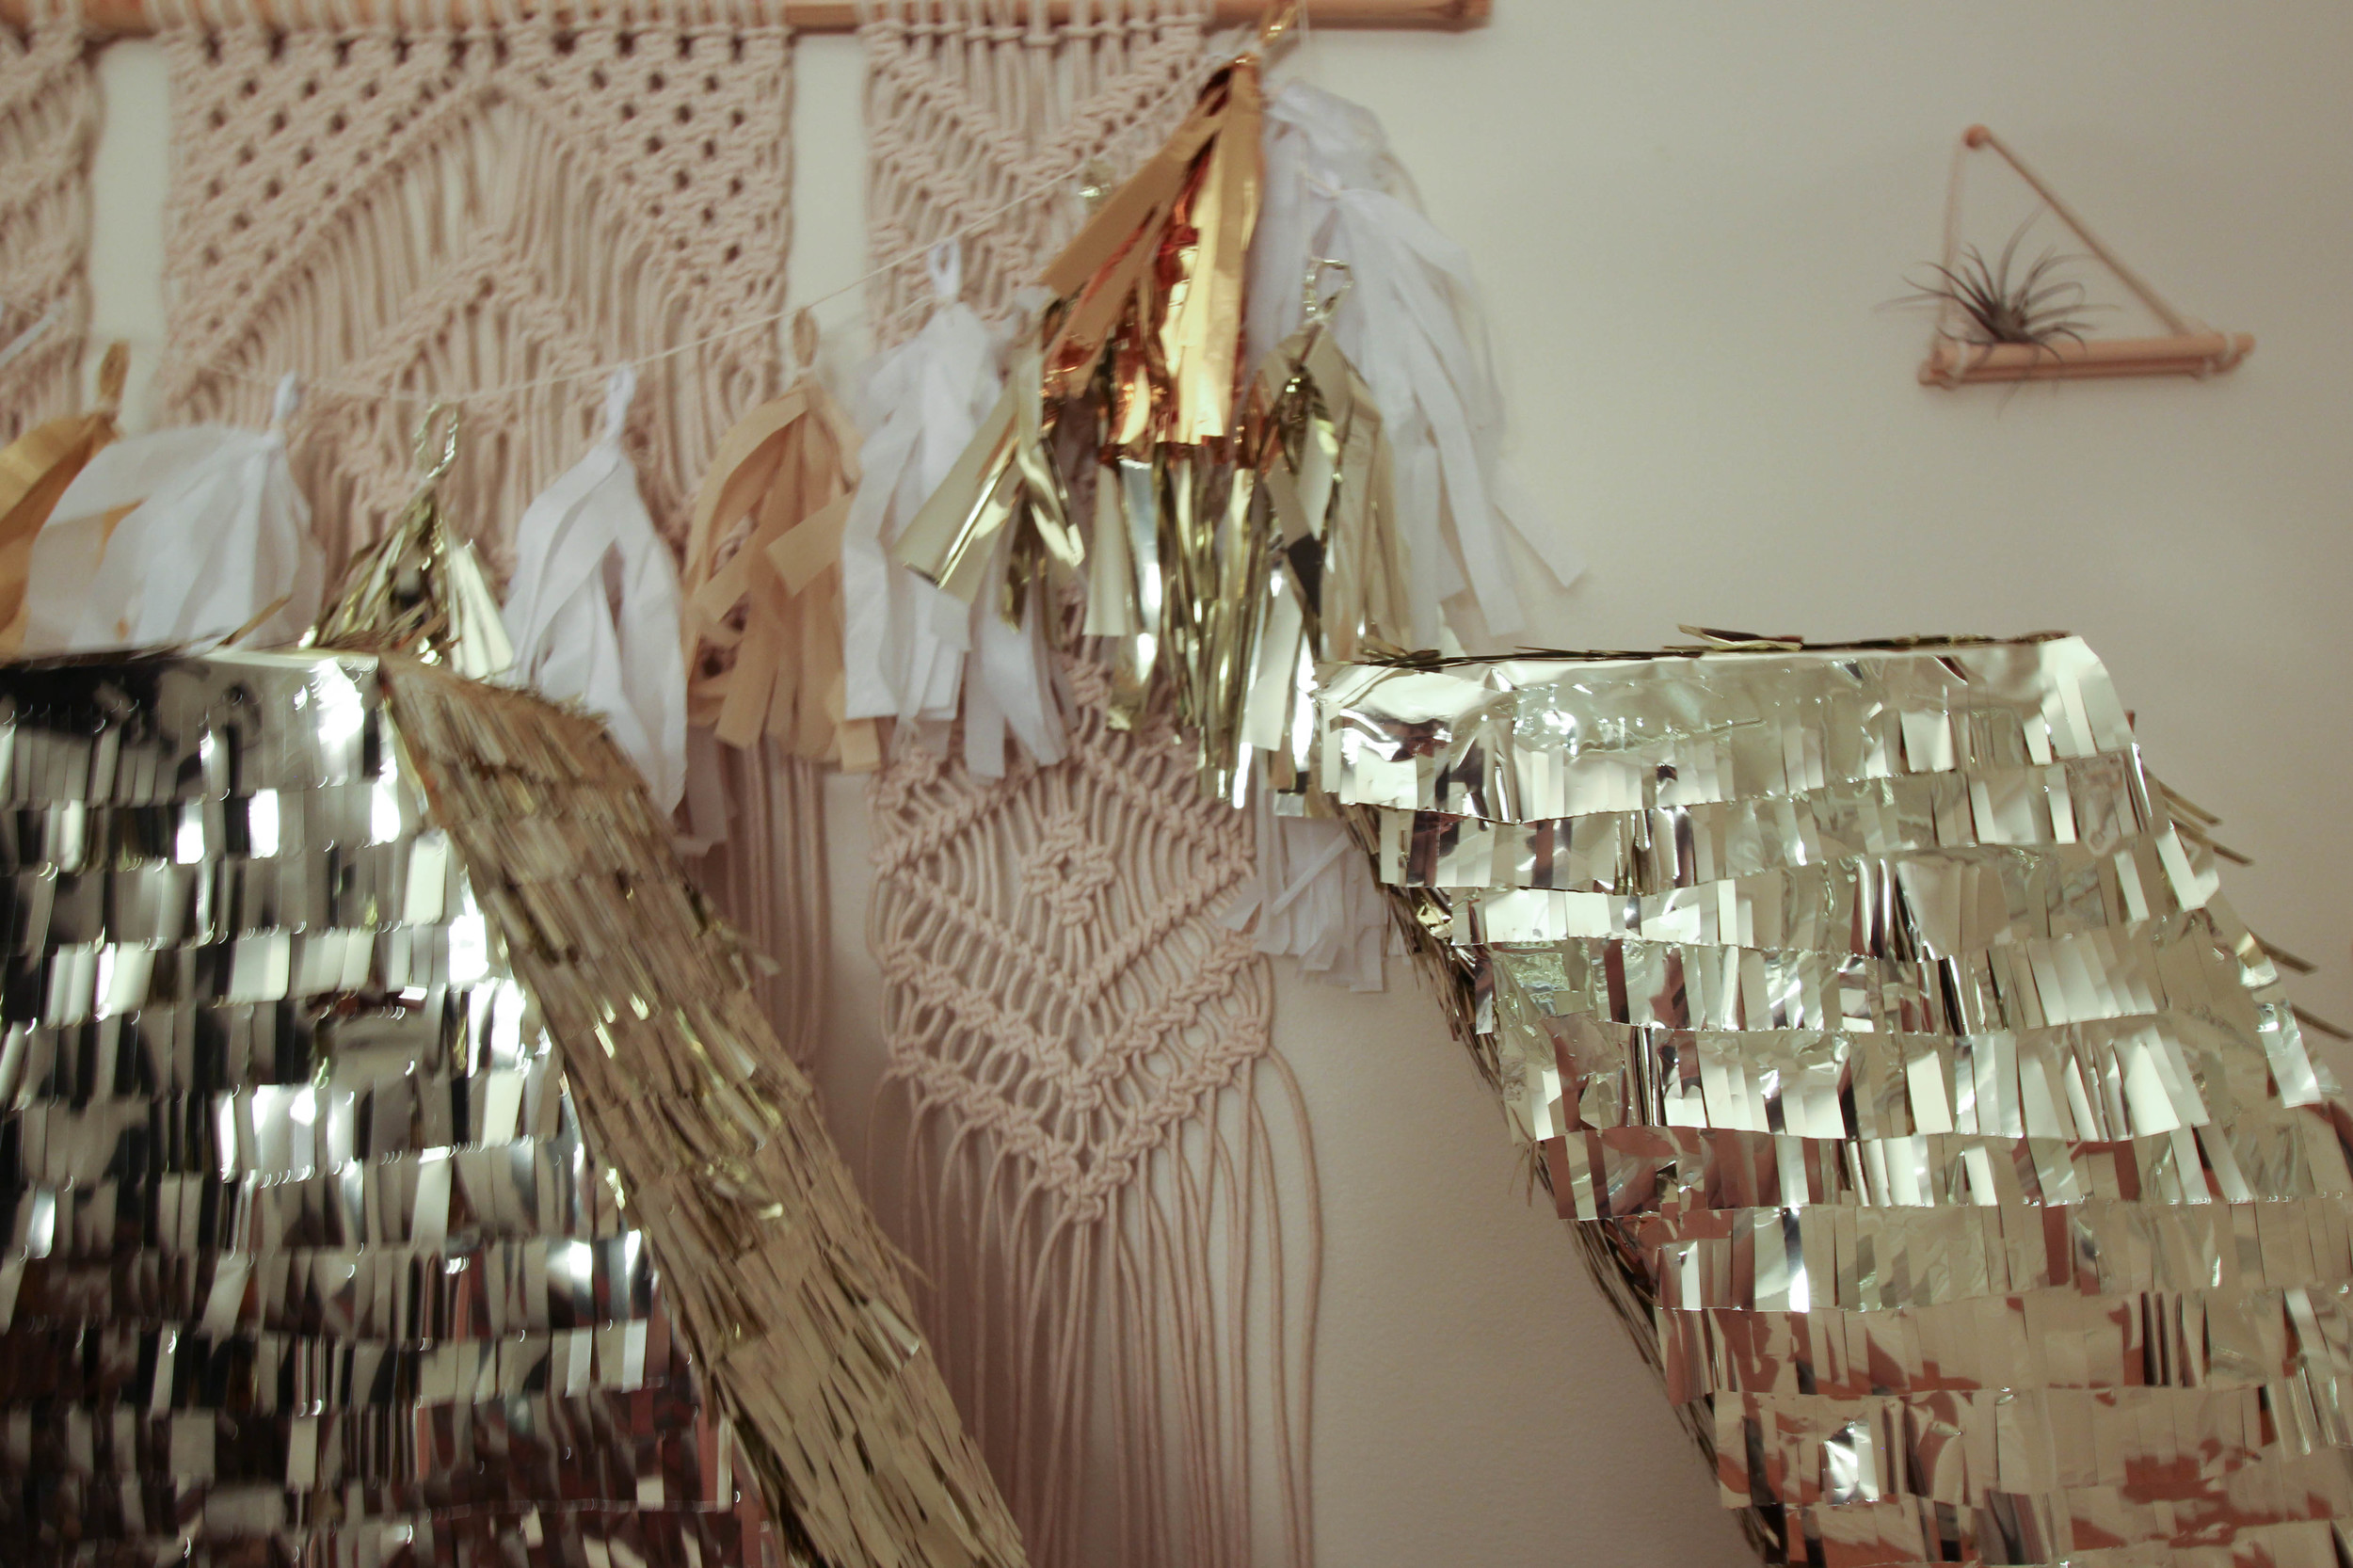
Fringe Letters
So the first time I actually made one of these tissue paper fringe pinata was for our gender announcement for Braden a year or so ago. They're a super fun, pretty cheap DIY with a little bit of patience and a lot of tissue paper fringing :D
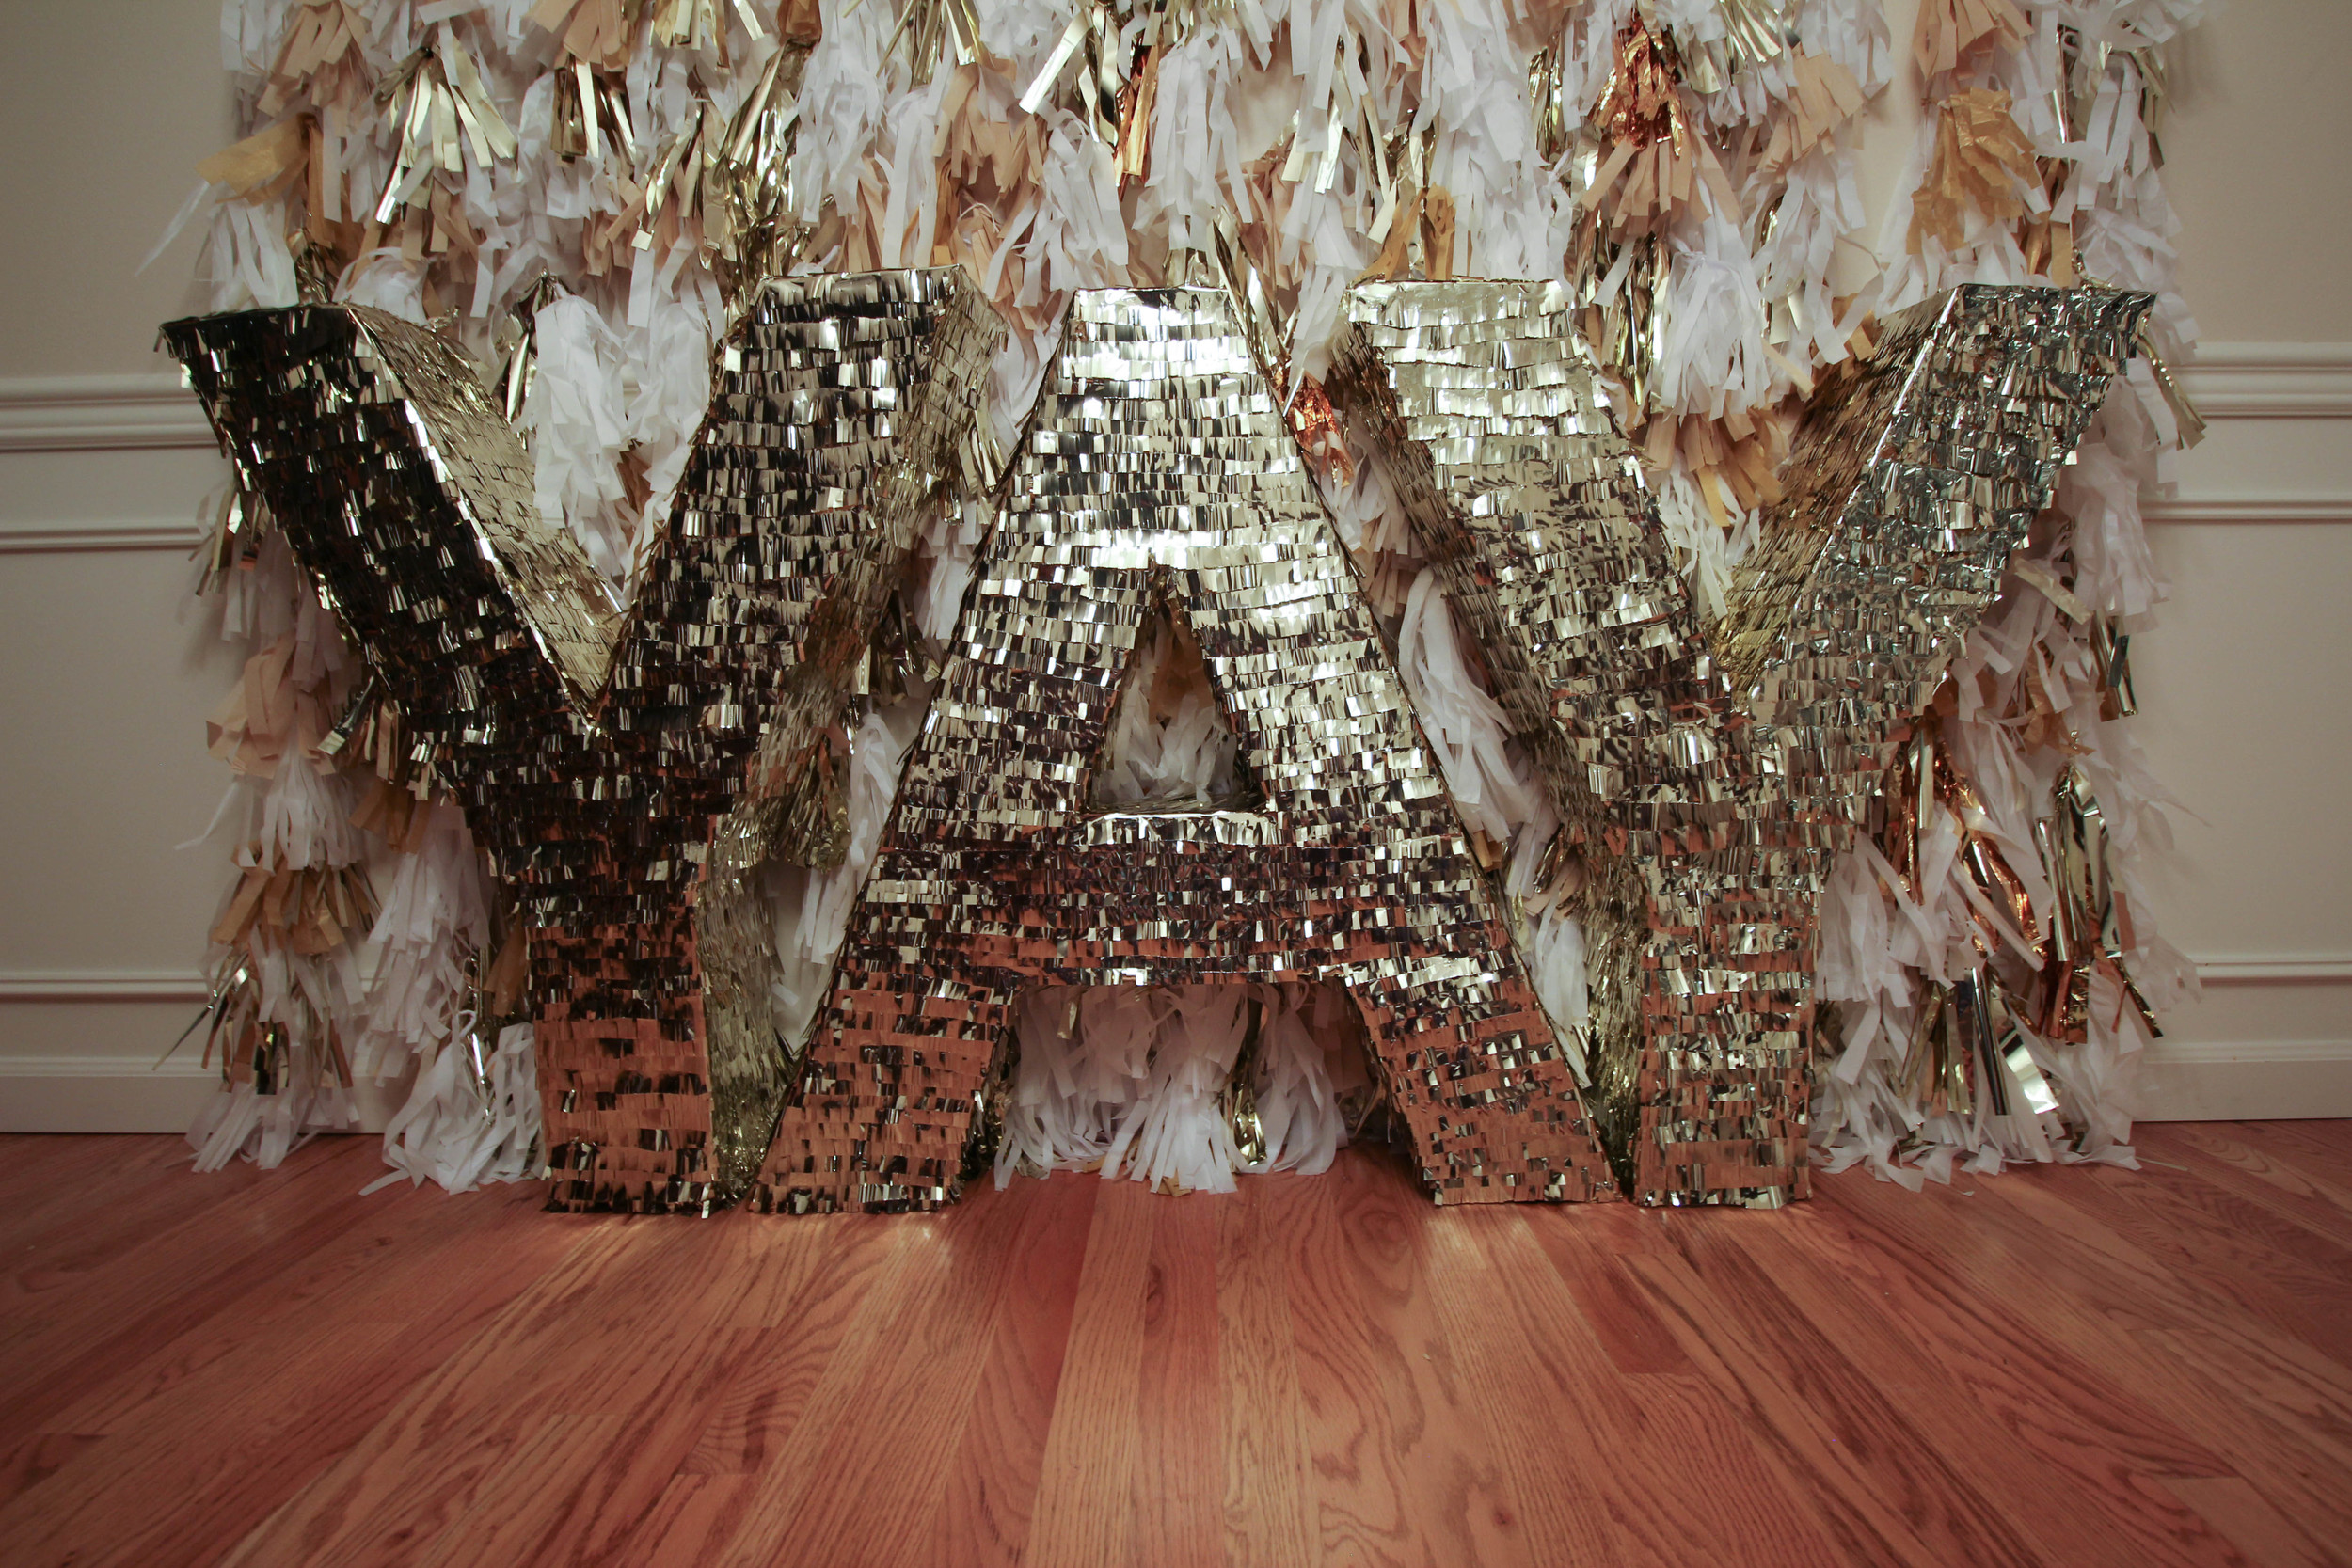
We made these for a church membership event. Originally we wanted to order these giant "YAY" gold balloons from Urban Outfitters...but we couldn't order them in time without it costing an arm and a leg for shipping. The nice thing about making these fringe letters instead though is that (if you have the storage) they can be used again!

Materials:
- Leftover moving boxes from Home Depot - or cardboard of your choice (this was free)
- Masking tape - can find at any office supply store
- Gold foil tissue paper - I bought mine at Michaels (the bulk stuff is from a party store)
- Double Stick Tape - can find at any office supplies store
- Satin Finish Gift Wrap Tape - perfectly clear tape is what you want if it has to show
- Fringe Scissors - These do the job, but I haven't been too impressed with the quality
Steps:

Print and assemble your template for the cardboard frame

Trace the template onto your cardboard & cut out (2x each template per letter for the front and the back)

I used the "flaps" of the boxes for the sides of the letters because it kept the width consistent and it was pretty much already done for me.
Tape the sides onto one of the letters all the way around (masking tape inside and out will make your letters sturdier)
Tape the second face of your letter to the assembled letter + sides
Repeat for the next letters. Don't worry too much about how it looks because you'll cover it with fringe which is pretty forgiving.]


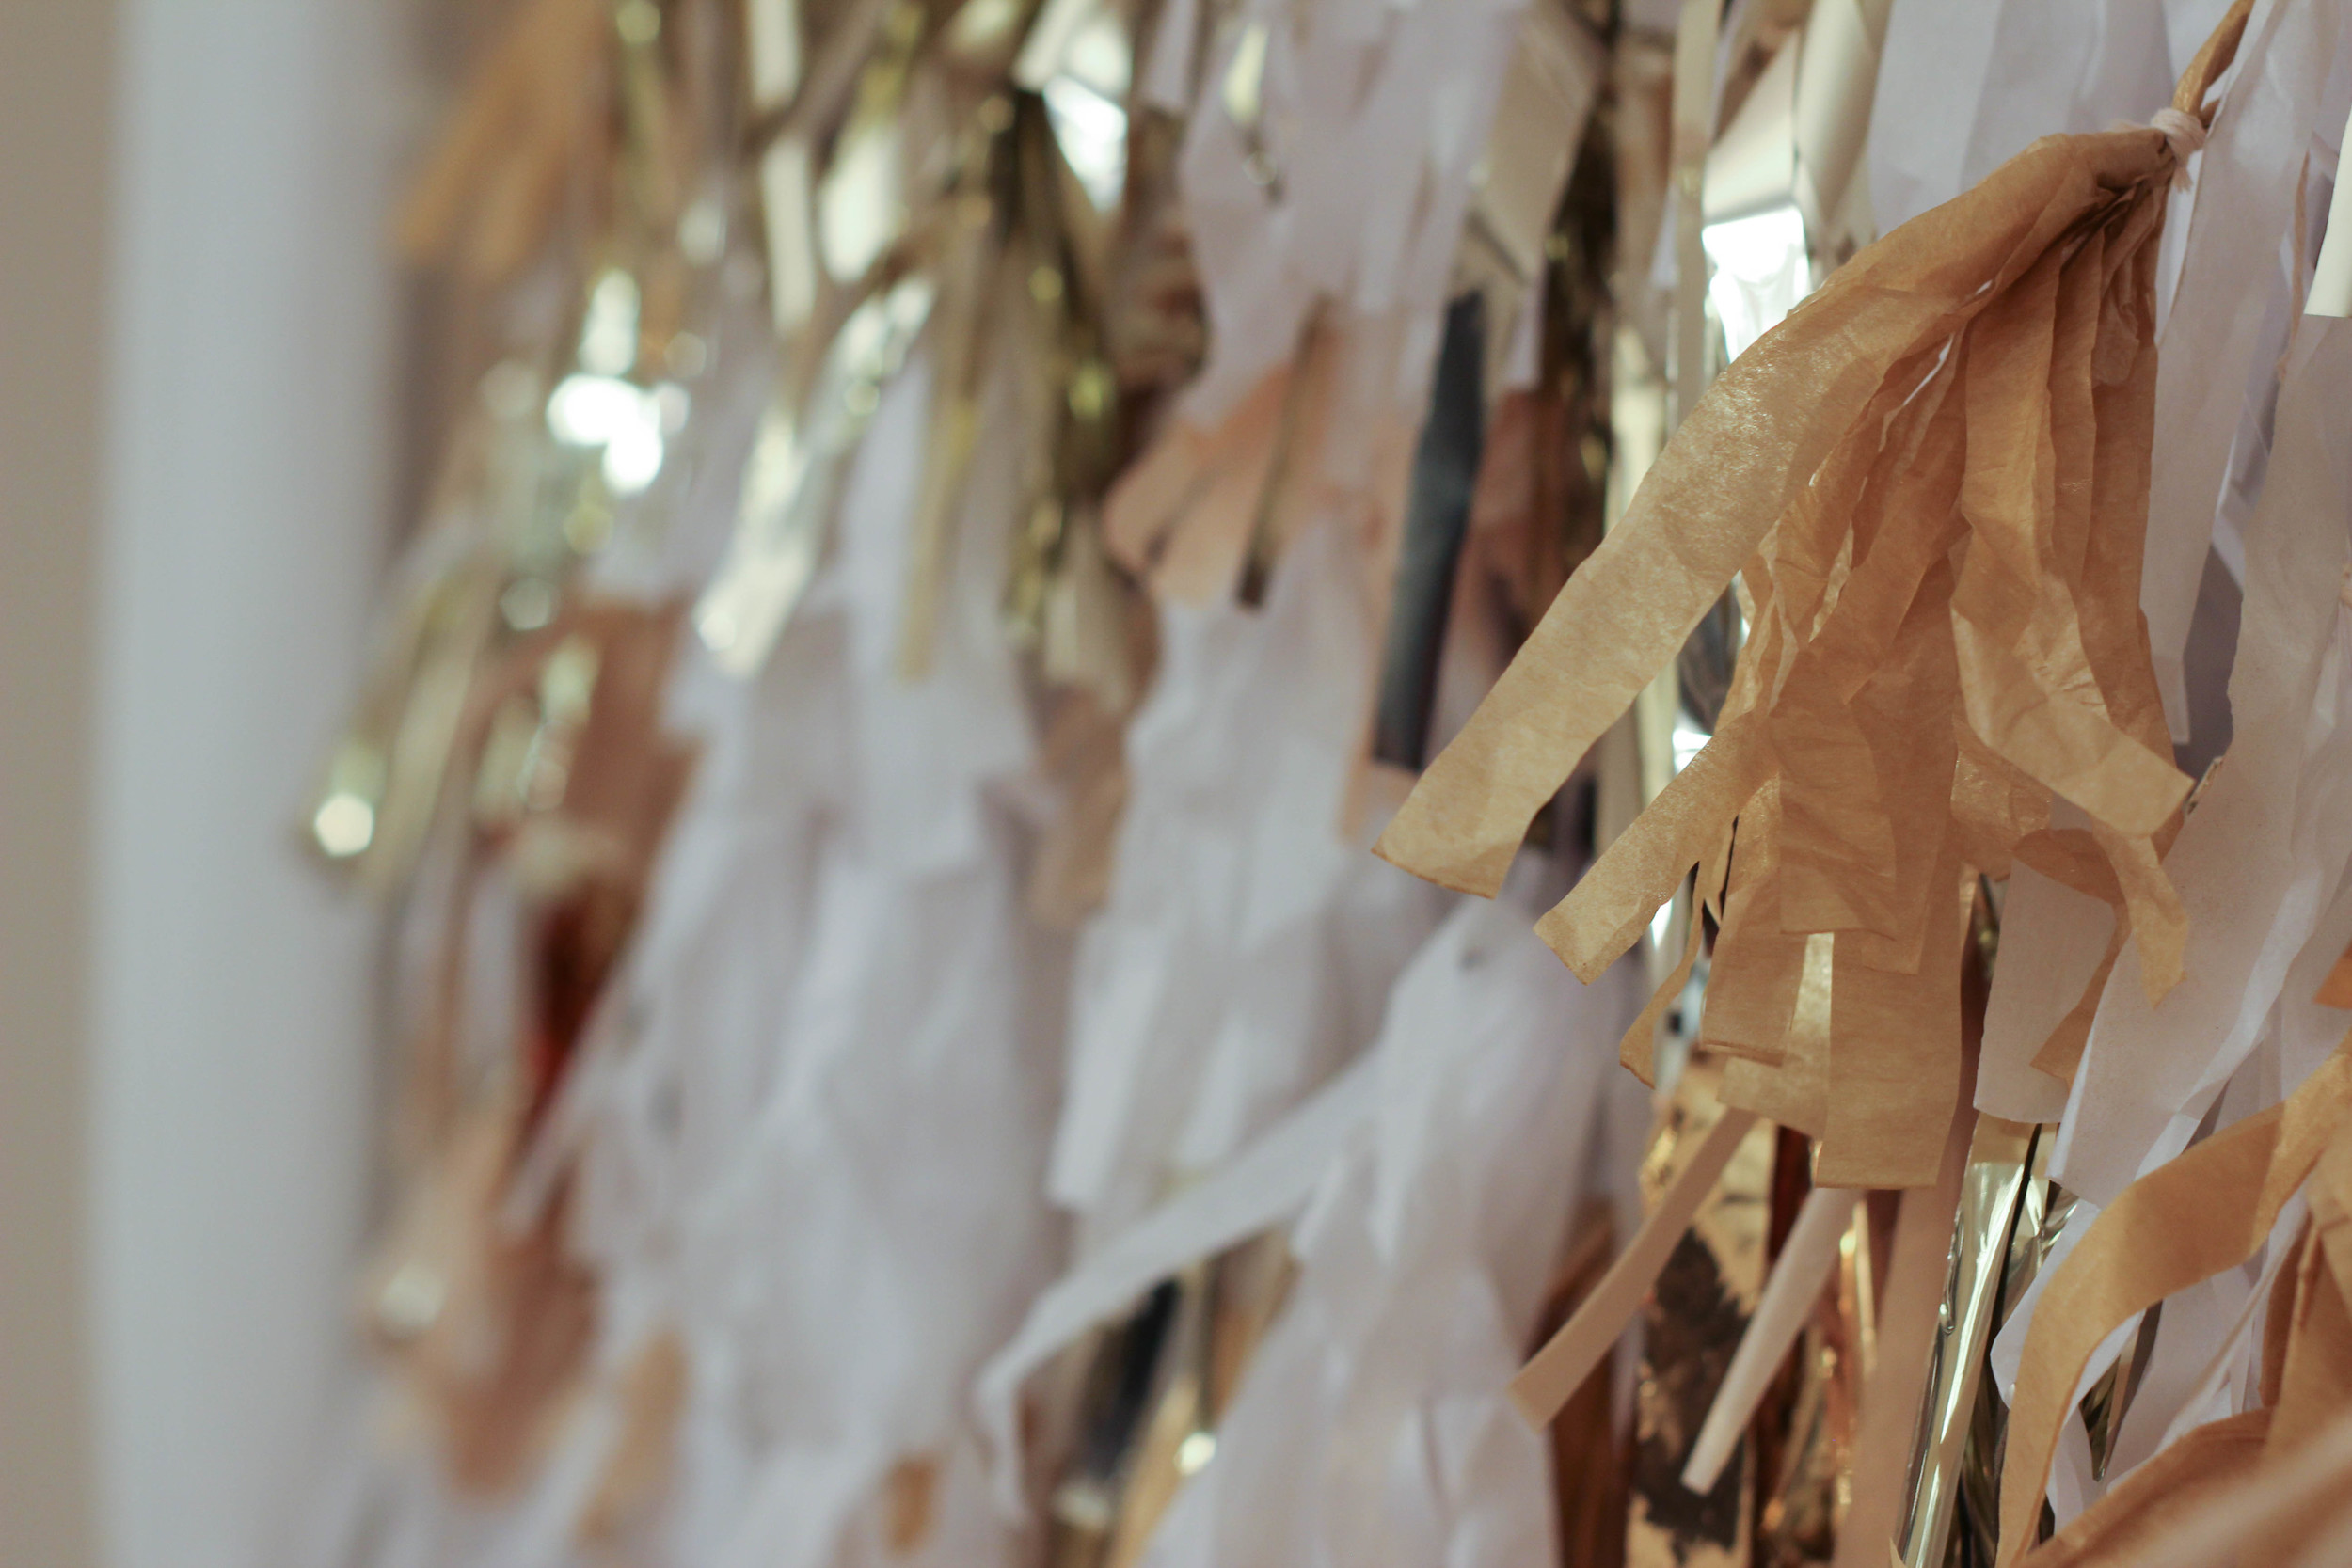
Cut 2" strips of tissue paper

Cover all your edges with unfringed 2" strips of tissue paper this will help hide your masking tape and make the edging with your fringe less finicky.

Fringe ALL your 2" strips

I realized through this project a slightly more efficient way to tape on my fringe which is to run a strip of double stick tape along all the edges and down the center of each face (instead of individually taping each strip).

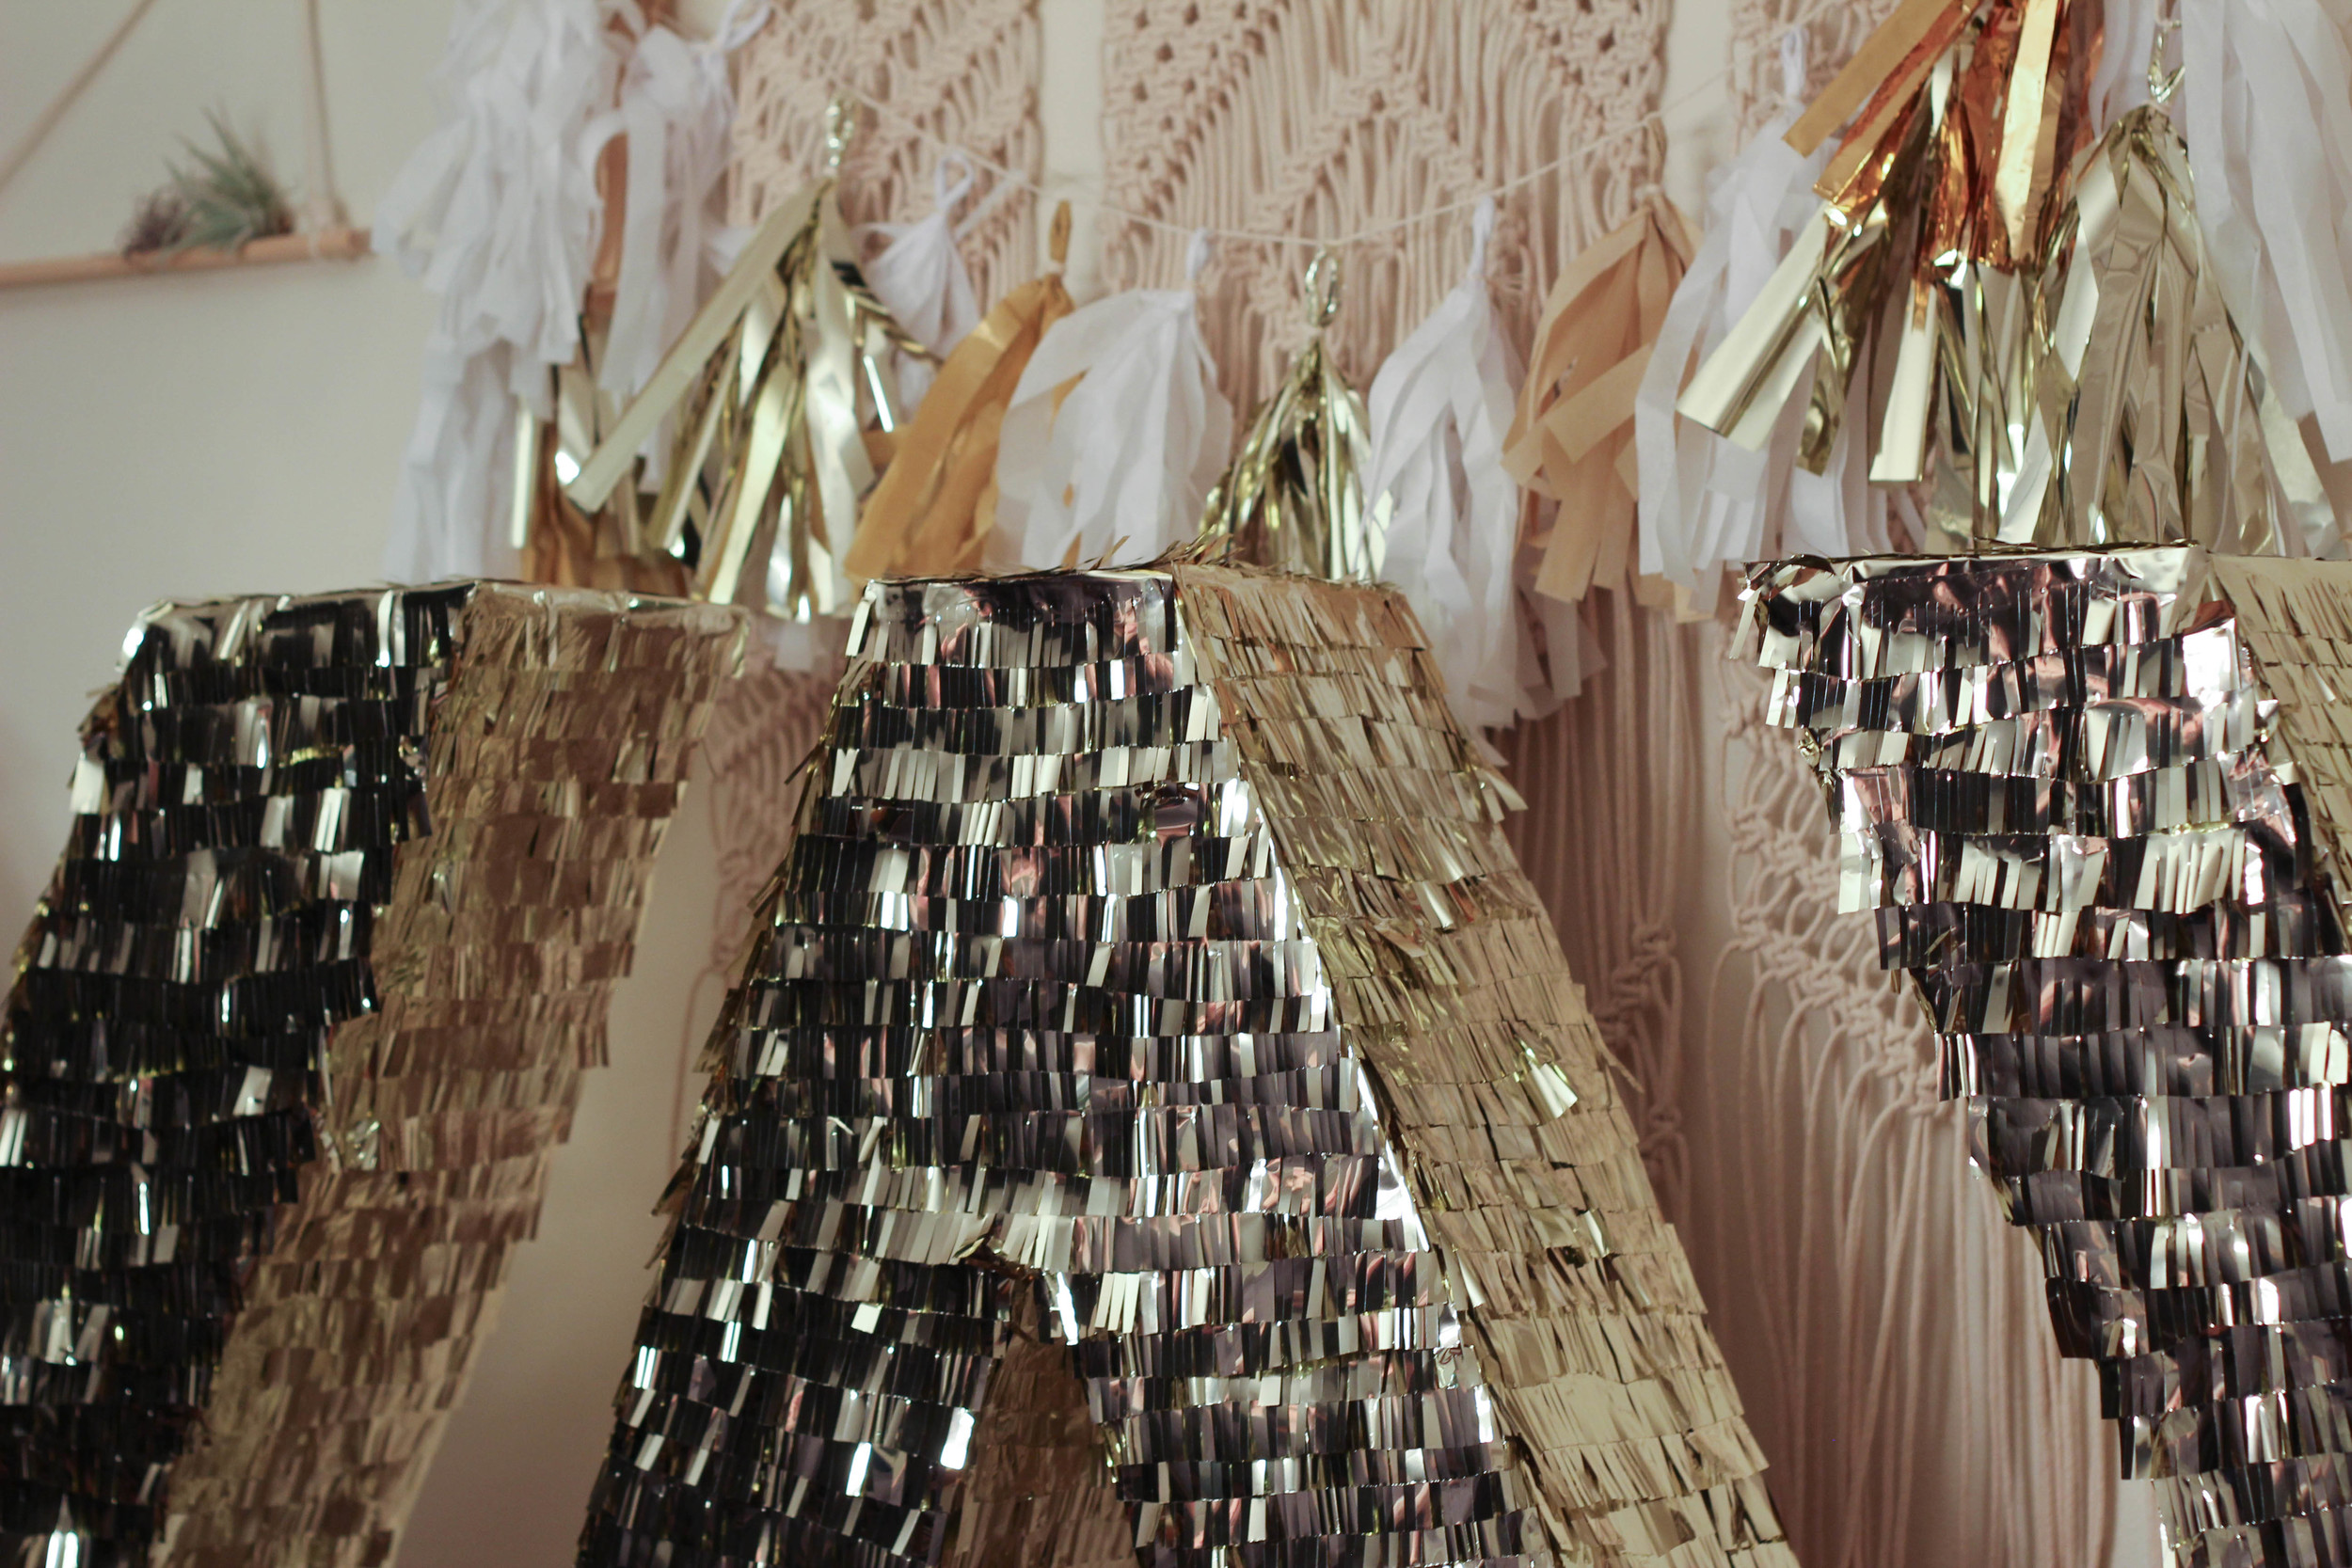
Start at the BOTTOM of your letter with your first piece of fringe.

Overlap your fringe just enough to hide the part of the tissue strip that isn't fringed.

Cover the whole thing in fringe working in sections. (heeyy HGTV commercial haha)
Tah-Dah!


Notes:
Depending on how you're hoping to hang your letters you'll want to punch a couple holes through either the top of your letter or the back and string some rope through.